
Table of Contents
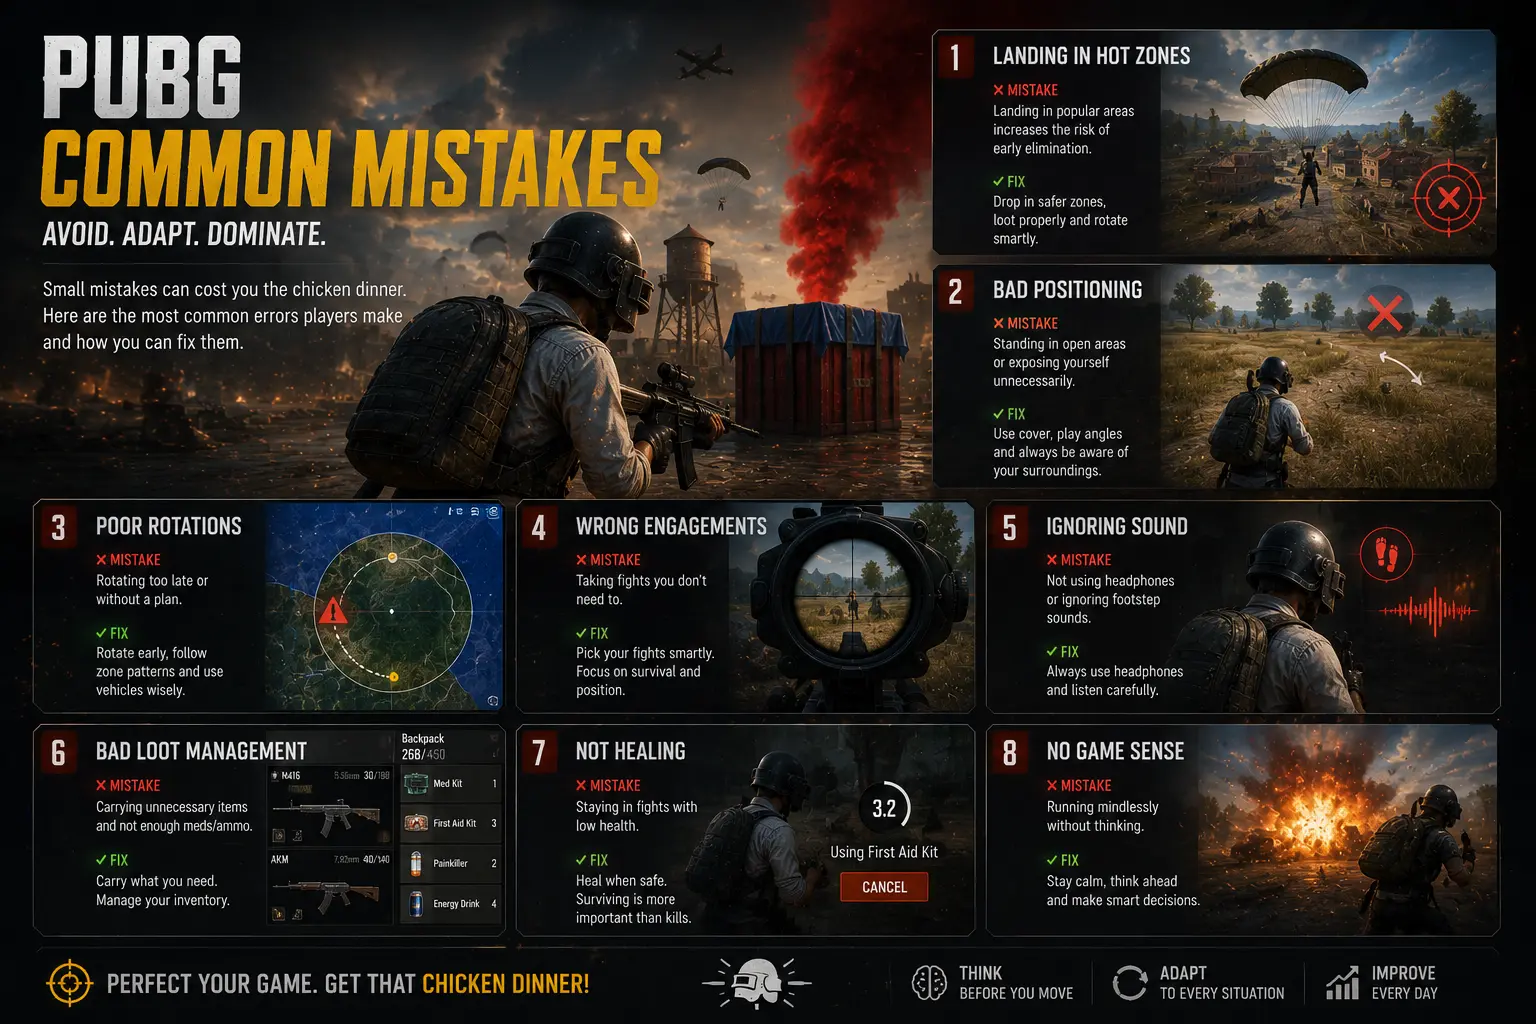
- Over-Peeking — The Number-One Killer
- Bad Positioning — Fighting from Disadvantage
- Loot Obsession — Dying for Gear
- Ignoring the Circle — Zone Amnesia
- Poor Communication — Silent Squads Lose
- Wrong Rotations — Timing Is Everything
- Panic Firing — When Nerves Take Over
- No Map Awareness — Playing Blind
- Gear Mismanagement — Armor Economy
- Giving Up Early — The Mental Game
- Frequently Asked Questions
Over-Peeking — The Number-One Killer
Over-peeking is the most common mistake in PUBG Mobile, and it is the easiest to fix. It happens when a player peeks the same angle multiple times, giving the enemy time to adjust their aim, call in a teammate for a crossfire, or line up a clean headshot. Every time you peek the same corner twice, the enemy's probability of landing a headshot increases by roughly 40%. By the third peek, you are essentially gambling your life on a 50-50 trade.
The fix is simple: peek once, fire your burst, and relocate. If you are using a DMR or sniper, move at least 10 meters laterally after each shot. If you are holding a building, switch windows after every engagement. The enemy's audio and visual information becomes useless when you are not where they expect you to be. FragTrack's AI analysis of over 5,000 Ace-tier matches found that players who actively reposition after each peek survive 68% more engagements than those who hold the same angle.
I also recommend using the "three-second rule": if you have not gotten a knock within three seconds of peeking, you have given away your position for nothing. Disengage immediately and find a new angle. The element of surprise is worth more than any weapon attachment in the game.
Pro Fix
Bind your crouch and lean keys to muscle memory. When you peek, crouch-lean on the first exposure, then stand-lean on the second from a different position. This variation in your peek height makes it significantly harder for enemies to predict your head level.
Bad Positioning — Fighting from Disadvantage
Positioning errors are responsible for more deaths in PUBG Mobile than any mechanical skill gap. The most common positioning mistakes include holding the low ground when height is available, fighting from open fields when cover exists nearby, and allowing your squad to be sandwiched between two enemy teams.
The cardinal rule of positioning is this: before you fire a single bullet, identify your escape route. If the fight turns bad, where will you go? If you cannot answer that question in under one second, you are not positioned correctly. Good positioning means you can withdraw from a losing fight, heal, and re-engage on your terms. Bad positioning means you either win the fight or you die — there is no middle ground.
Another common error is fighting from a single piece of cover. A tree, a rock, or a car is not a position — it is a death trap waiting for a grenade. A real position is a network of two to three pieces of cover connected by a safe movement path. If a teammate gets knocked, you need to be able to move to a new piece of cover without exposing yourself to the enemy's line of sight. FragTrack's position heatmaps show that Ace-tier players move between cover points twice as frequently as Diamond players during engagements.
"Every fight you lose to bad positioning is a fight you never had to take. The best players win 80% of their fights before they fire a single bullet — because they are already in the right place." — Rahul 'Ronak' Khatri
Loot Obsession — Dying for Gear
Loot obsession is the silent rank killer. I watch players spend the first five minutes of every match looting every single building in their compound, running from room to room collecting attachments they will never use, and then dying to a squad that has already rotated to a power position. The math is brutal: the difference between a "good" loadout and a "great" loadout is maybe two extra kills per match. The difference between rotating early and rotating late is getting to the final circle alive versus dying in the blue.
Here is the rule: land, loot for 90 seconds maximum, and move. A level-2 helmet, a level-2 vest, an AR with one magazine, and 50 spare bullets is all you need to be combat-effective. Everything beyond that is optimization, not necessity. If you are missing a scope, you will find one on the first squad you kill. If you are missing a stock, you will find one in the next building. Stop treating loot like the objective. The objective is to be the last squad alive, and you cannot achieve that while you are still sorting through your backpack in a building when Zone 1 has already closed.
Ignoring the Circle — Zone Amnesia
Zone amnesia is what happens when players get so focused on looting, fighting, or watching a specific angle that they completely forget about the shrinking play zone. The result is always the same: a frantic sprint through open terrain with the blue zone burning through your health kit supply, making you an easy target for every squad already positioned inside the safe zone.
The fix requires discipline. Assign one squad member as the "zone watcher" — their job is to monitor the circle timer and announce when the squad needs to begin rotating. When the timer hits 60 seconds, you should already be moving. When it hits 30 seconds, you should already be inside the next zone or at its edge. The most important rotation of the match happens between Zone 2 and Zone 3, because this is when the playable area shrinks dramatically and the majority of squads are eliminated.
Data from FragTrack's match analysis engine shows that players who begin rotating before the 60-second mark survive to the final circle at a rate of 73%, compared to just 31% for players who wait until the zone is already closing. Those numbers alone should convince you to never let zone amnesia cost you another match.
Poor Communication — Silent Squads Lose
Silent squads are squads that die. Communication is the glue that holds a team together, and poor comms is the fastest way to turn four capable players into four disconnected individuals who happen to be on the same island. The most common communication mistakes include vague callouts like "over there" or "behind us," failing to report enemy health and position after taking damage, and talking over each other during critical moments.
The fix is the "Two-Second Callout System." Every callout must contain three elements: compass direction (use the numbers at the top of your screen), distance (close/mid/far), and enemy action (pushing/rotating/farming/healing). A proper callout sounds like: "320, mid, two enemies pushing through the wheat field." That callout gives every squad member complete situational information in under two seconds. No ambiguity. No second-guessing.
Additionally, establish a comms hierarchy before the match starts. The IGL makes all strategic decisions. The entry fragger makes all tactical callouts during fights. The support and anchor players provide information but defer to the IGL for decisions. When everyone knows their communication role, the squad operates like a single unit rather than four individuals shouting over each other.
Wrong Rotations — Timing Is Everything
Rotation errors come in two flavors: rotating too late (which we covered with zone amnesia) and rotating through the wrong path. The latter is more insidious because it often feels correct in the moment — you see open terrain between you and the next zone, so you run straight through it, only to get picked off by a squad holding a ridge you never spotted.
The golden rule of rotations: never move through the center of the zone if you can move along its edge. Edge rotations give you a safe rear flank, reduce your exposure to crossfire, and let you focus your attention on only 180 degrees of threat instead of 360. When you rotate through the center of the map, you are surrounded on all sides by potential enemies. When you rotate along the edge, the blue zone becomes your ally — it guarantees that no one can attack you from behind.
Vehicle rotations deserve special mention. A vehicle is not just transportation — it is mobile cover. When you rotate by vehicle, park it perpendicular to your expected threat direction so that the engine block provides cover. If you take fire, use the vehicle as a shield while you assess the situation. Do not abandon your vehicle unless it is smoking. A smoking vehicle is a bomb — abandon it and find cover immediately.
Panic Firing — When Nerves Take Over
Panic firing is the reflex of spraying an entire magazine at an enemy while missing most of your shots. It happens when adrenaline spikes and fine motor control breaks down. The result is a dry magazine, a reload animation that leaves you vulnerable, and an enemy who calmly kills you while you are stuck in the reload cycle.
Panic firing is a symptom of poor crosshair placement. If your crosshair is aimed at the ground or a wall when you round a corner, you will need to make a large correction to hit an enemy, which triggers panic. Keep your crosshair at head height at all times, pre-aim common angles, and always move with your reticle where you expect an enemy to appear.
The fix is deliberate practice in the training ground. Set up a spray control drill: fire 40-round bursts at a wall from 25 meters. Your goal is to keep 90% of the bullets within a head-and-shoulders-sized area. Once you build this muscle memory, panic firing will naturally decrease because your body will execute the spray pattern automatically instead of relying on conscious control. FragTrack's AI recoil analysis tool can help here — upload a video of your spray pattern and the AI identifies exactly where your compensation breaks down.
No Map Awareness — Playing Blind
Map awareness is the ability to track enemy movements, zone timings, and squad positions without actively thinking about it. Players with poor map awareness are constantly surprised — they open a door and run into a full squad, they rotate into a compound that is already occupied, or they get shot from a direction they never checked.
Develop map awareness with these three habits. First, open your map every 15-20 seconds during the lull phases of the match. This takes one second and gives you complete zone information, kill feed context, and a mental picture of where the remaining squads are likely positioned. Second, use your audio to build a mental map of nearby threats. Footsteps, gunfire, and vehicle sounds all have distinct ranges. Learn to estimate distance by sound alone. Third, mark every engagement you hear on your map. By Zone 4, you should have a map covered in markers indicating where squads were eliminated and where surviving squads might be.
Players who actively maintain map awareness survive third-party encounters 82% more often than players who react only to visual information. The difference is not mechanical — it is attentional. Train yourself to treat the map as a live radar feed rather than a static image you check occasionally.
Gear Mismanagement — Armor Economy
Armor and helmet durability are the most underrated resources in PUBG Mobile. A level-3 helmet with 20% durability will not save you from a single headshot from a bolt-action sniper — but a level-2 helmet at 80% durability will. Many players hold onto high-level gear long after it has become combat-ineffective, simply because of the number on the icon.
The rule is simple: swap to a lower-tier piece of gear if the higher-tier piece is below 40% durability. A full-durability level-1 vest provides more effective protection than a level-3 vest at 25% durability. The same applies to helmets. Always carry a spare helmet and vest in your inventory during the mid-game if you have room. When your equipped armor takes damage, swap to the spare immediately rather than waiting until you are one bullet from death.
Another common gear mistake is carrying too many attachments. You do not need four different scopes, three grips, and a spare stock. Carry one primary scope (3x or 4x), one close-range optic (red dot or holo), and one set of backup attachments. Everything else is weight that could be carrying grenades, smokes, or meds. A FragTrack gear efficiency analysis of 2,000 Ace players found that the most successful loadouts contain exactly three healing items, six grenades (mix of frag and smoke), and 200 total bullets. Anything more is waste; anything less leaves you underprepared.
Giving Up Early — The Mental Game
The tenth mistake is not mechanical or tactical — it is mental. Giving up early happens when a squad loses a teammate, takes a bad rotation, or gets third-partied and decides the match is lost. Players stop trying, make reckless decisions, and die faster than they would have if they had stayed focused.
PUBG Mobile is a game of variance. Even the best players lose 60-70% of their matches. The difference between Conqueror-level players and everyone else is not that they win more fights — it is that they extract maximum value from every match regardless of outcome. A squad that loses two teammates in Zone 2 can still rat to top 5 and gain positive rank points. A player who dies early but calls out enemy positions for their remaining teammates is still contributing.
The mental framework I teach my GodLike roster is called "The Next Life Principle." When something goes wrong, do not dwell on it. Do not blame. Do not tilt. Instead, immediately ask yourself: what is the highest-value action I can take in the next 30 seconds? That question shifts your brain from emotional reaction to tactical problem-solving. Every match has value if you approach it with the right mindset. The moment you give up is the moment you guarantee the loss.
Track Your Mistakes with FragTrack
FragTrack's AI analysis engine automatically identifies your most frequent mistakes by analyzing your match screenshots. Are you dying early? Losing mid-game fights? Getting third-partied in the end-game? Upload your screenshots and get a personalized error profile within seconds. Every match becomes a learning opportunity.
Frequently Asked Questions
Over-peeking is the single most common mistake. Players expose themselves repeatedly from the same angle, giving enemies time to line up a headshot or call in a teammate for a crossfire. Always peek once, fire, and relocate at least 10 meters.
Early game deaths are almost always caused by hot dropping into heavily contested areas without a plan, slow looting that leaves you vulnerable, or failing to secure a weapon before engaging. Land at compounds with 1-2 buildings, loot in under 90 seconds, and find a vehicle immediately.
Fix positioning by always having an escape route, never fighting from a single piece of cover, maintaining height advantage, and rotating with the zone instead of against it. Before you fire, ask yourself where you will go if the fight turns bad.
No. Always heal first, check for third parties, then loot. The 10 seconds you spend healing could be the difference between winning the next engagement and dying to a third party with your med kit still open.
Panic firing is a symptom of poor crosshair placement. Keep your crosshair at head height around corners, practice spray control in the training ground daily, and use TDM mode to build muscle memory under pressure.